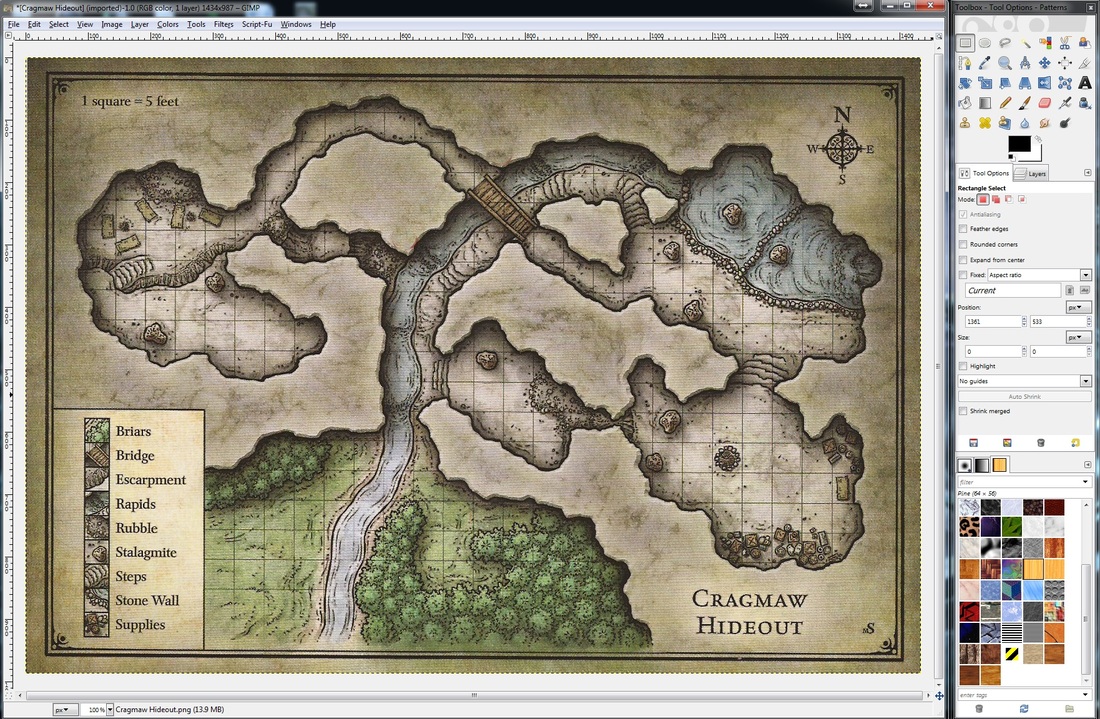
Say you've got the image shown below here. You just scanned it from your Starter Set Book (or downloaded it, whatever) used a Clone Brush tool in GIMP to scrub out the DM keys, and now you want to print it out for your table. What's the easiest way to get a good tile print, 100% of the time, with no doubt as to how it will turn out at Kinko's (or that fancy laser printer at work, that you need to get right the first try!)
I'm going to show you how to do this, because it's really easy!
I'm going to show you how to do this, because it's really easy!
You're going to need a few things ready before you do this:
- GIMP (or an image editor you know your way around)
- PosteRazer (a free tile-printing software that rocks)
- An image you want to tile/poster print.
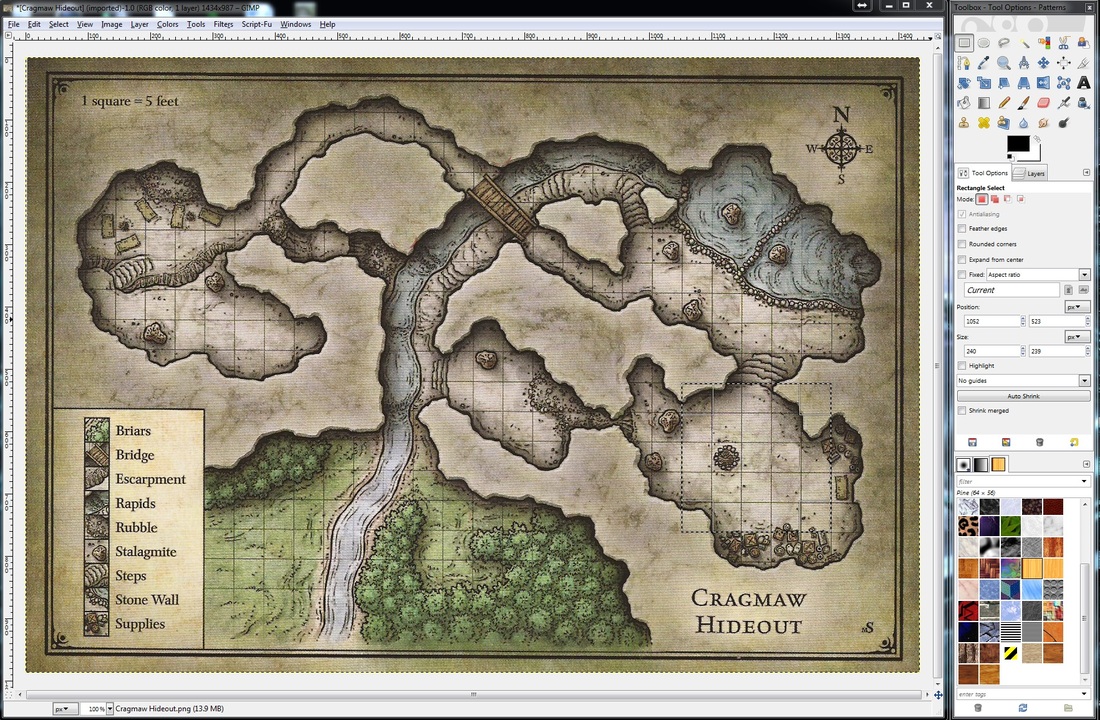
ADJUST PRINT RESOLUTION IN GIMP
First I'll open up the image in GIMP, and using the Rectangle Select Tool, highlight a 5x5 section of the grid, really zooming in to make sure I'm right on the lines. According to the Tool Options dialogue in the shot below, I can now see that those 5 squares are roughly 240 pixels, which means each square is 48 pixels.
I want my map to print out with 1" grid squares, so rather than scale the image up so each square is 300 pixels (625% bigger), I'll just add data to the image that it should print at 48 pixels per inch, so that it will print at just the right size without making the image bigger. To do this I go to Image > Print Size and change the resolution to 48. You can see the actual print size above this, almost 30" across, and 20.5" tall! Since I'll be printing on landscape letter paper, I expect to get 10"x8" per page, so this should use up 9 pages to print it.
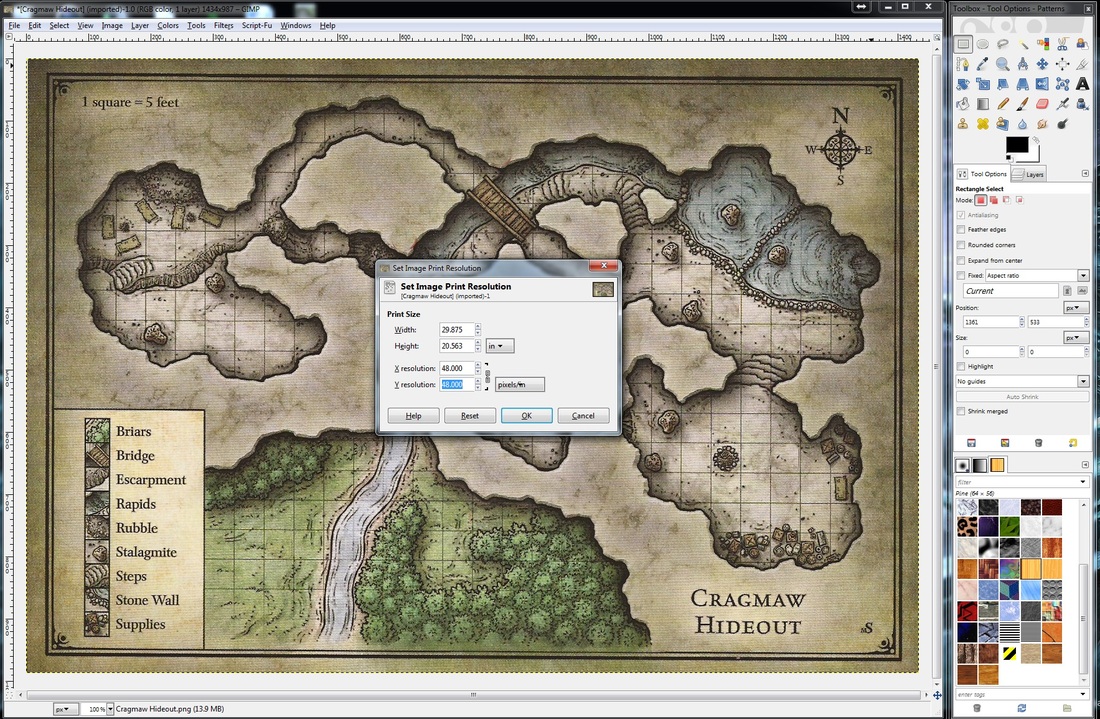
Once I've adjusted the print resolution, I'm ready to Export this to a PNG file.
CREATE A PDF WITH POSTERAZER
Yeah, I'm giving away the awesome early, but that's the secret to a perfect poster/tile print every time. Instead of fighting with whatever image program you're using, which typically has a tacked on printing setup anyway, it's really easy to just make a multi-page PDF that will quickly and easily print wherever you take it. (I really like the color laser printer at work!)
So first step--open up your PNG file (with adjusted print resolution) in PosteRazer:
So first step--open up your PNG file (with adjusted print resolution) in PosteRazer:
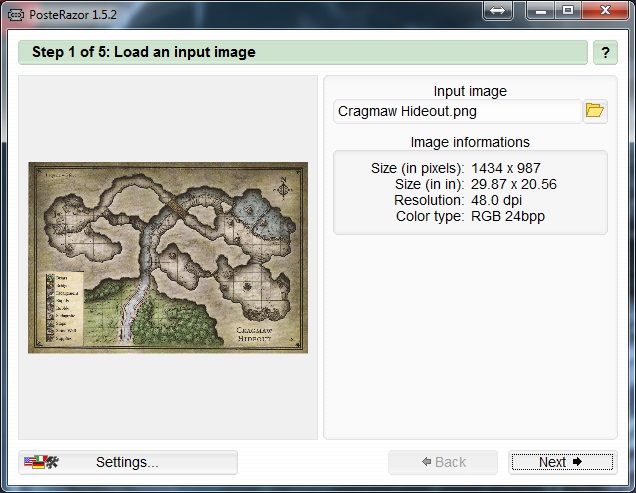
You can already see that the print resolution was retained, and it's ready to print out at the correct size! Next'ing through the options, I use Letter (Landscape) format, with 0.25" for the top/bottom margins, and 0.5" on the left/right (yielding 10"x8" of printable area on each page). I choose no overlapping, 100% size, and top/left alignment (so it uses as few pages as possible). On the last tab I "print" it and it prompts for a PDF name.
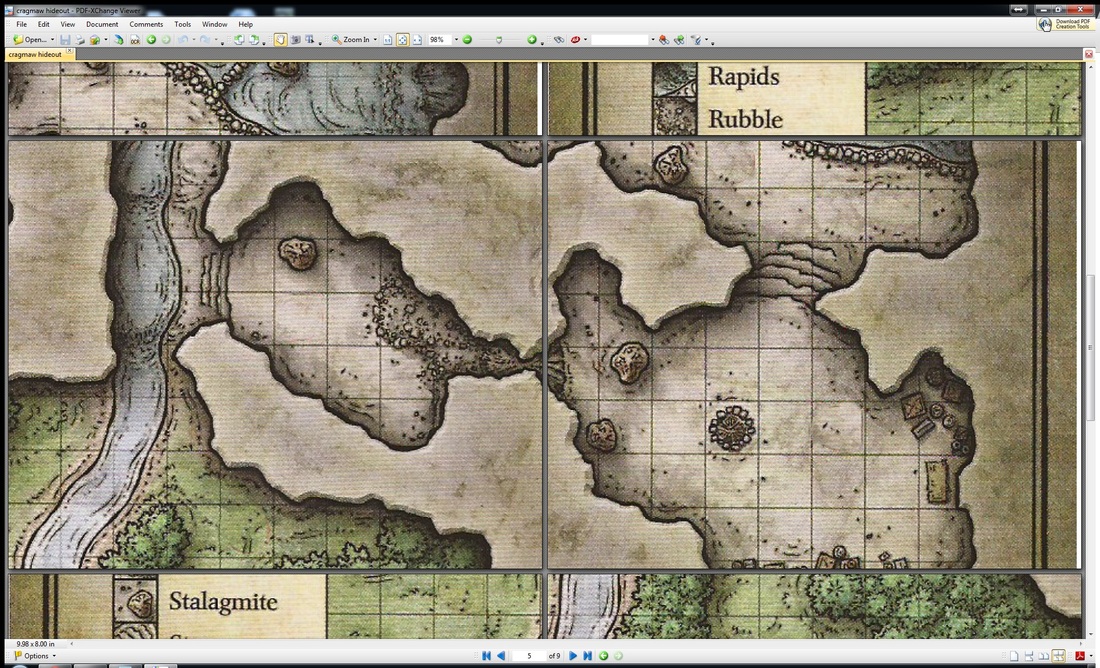
This kicks out a 9 page PDF, ready to take to whatever nice printer I like to print out! (Remember to print "Actual Size", no fitting or scaling.
This kicks out a 9 page PDF, ready to take to whatever nice printer I like to print out! (Remember to print "Actual Size", no fitting or scaling.
Enjoy!
 RSS Feed